The Internet of Things (IoT) has transformed the way we interact with everyday objects, and at the heart of this revolution are microcontrollers like the ESP32. Whether you’re an aspiring developer or an experienced coder, this comprehensive beginner’s guide will equip you with the knowledge you need to dive into the world of ESP32 development and bring your IoT ideas to life.Lets ESP32 getting started.
Introduction to ESP32
The ESP32, developed by Espressif Systems, is a versatile microcontroller that has taken the IoT community by storm. Armed with dual-core processing power, Wi-Fi, Bluetooth, and a multitude of I/O options, the ESP32 is well-suited for a wide range of applications, from simple sensor monitoring to complex home automation systems.
Setting Up the Development Environment
Before you can unleash the potential of the ESP32, you’ll need to set up your development environment. Follow these steps to get started:
1. Install the Arduino IDE
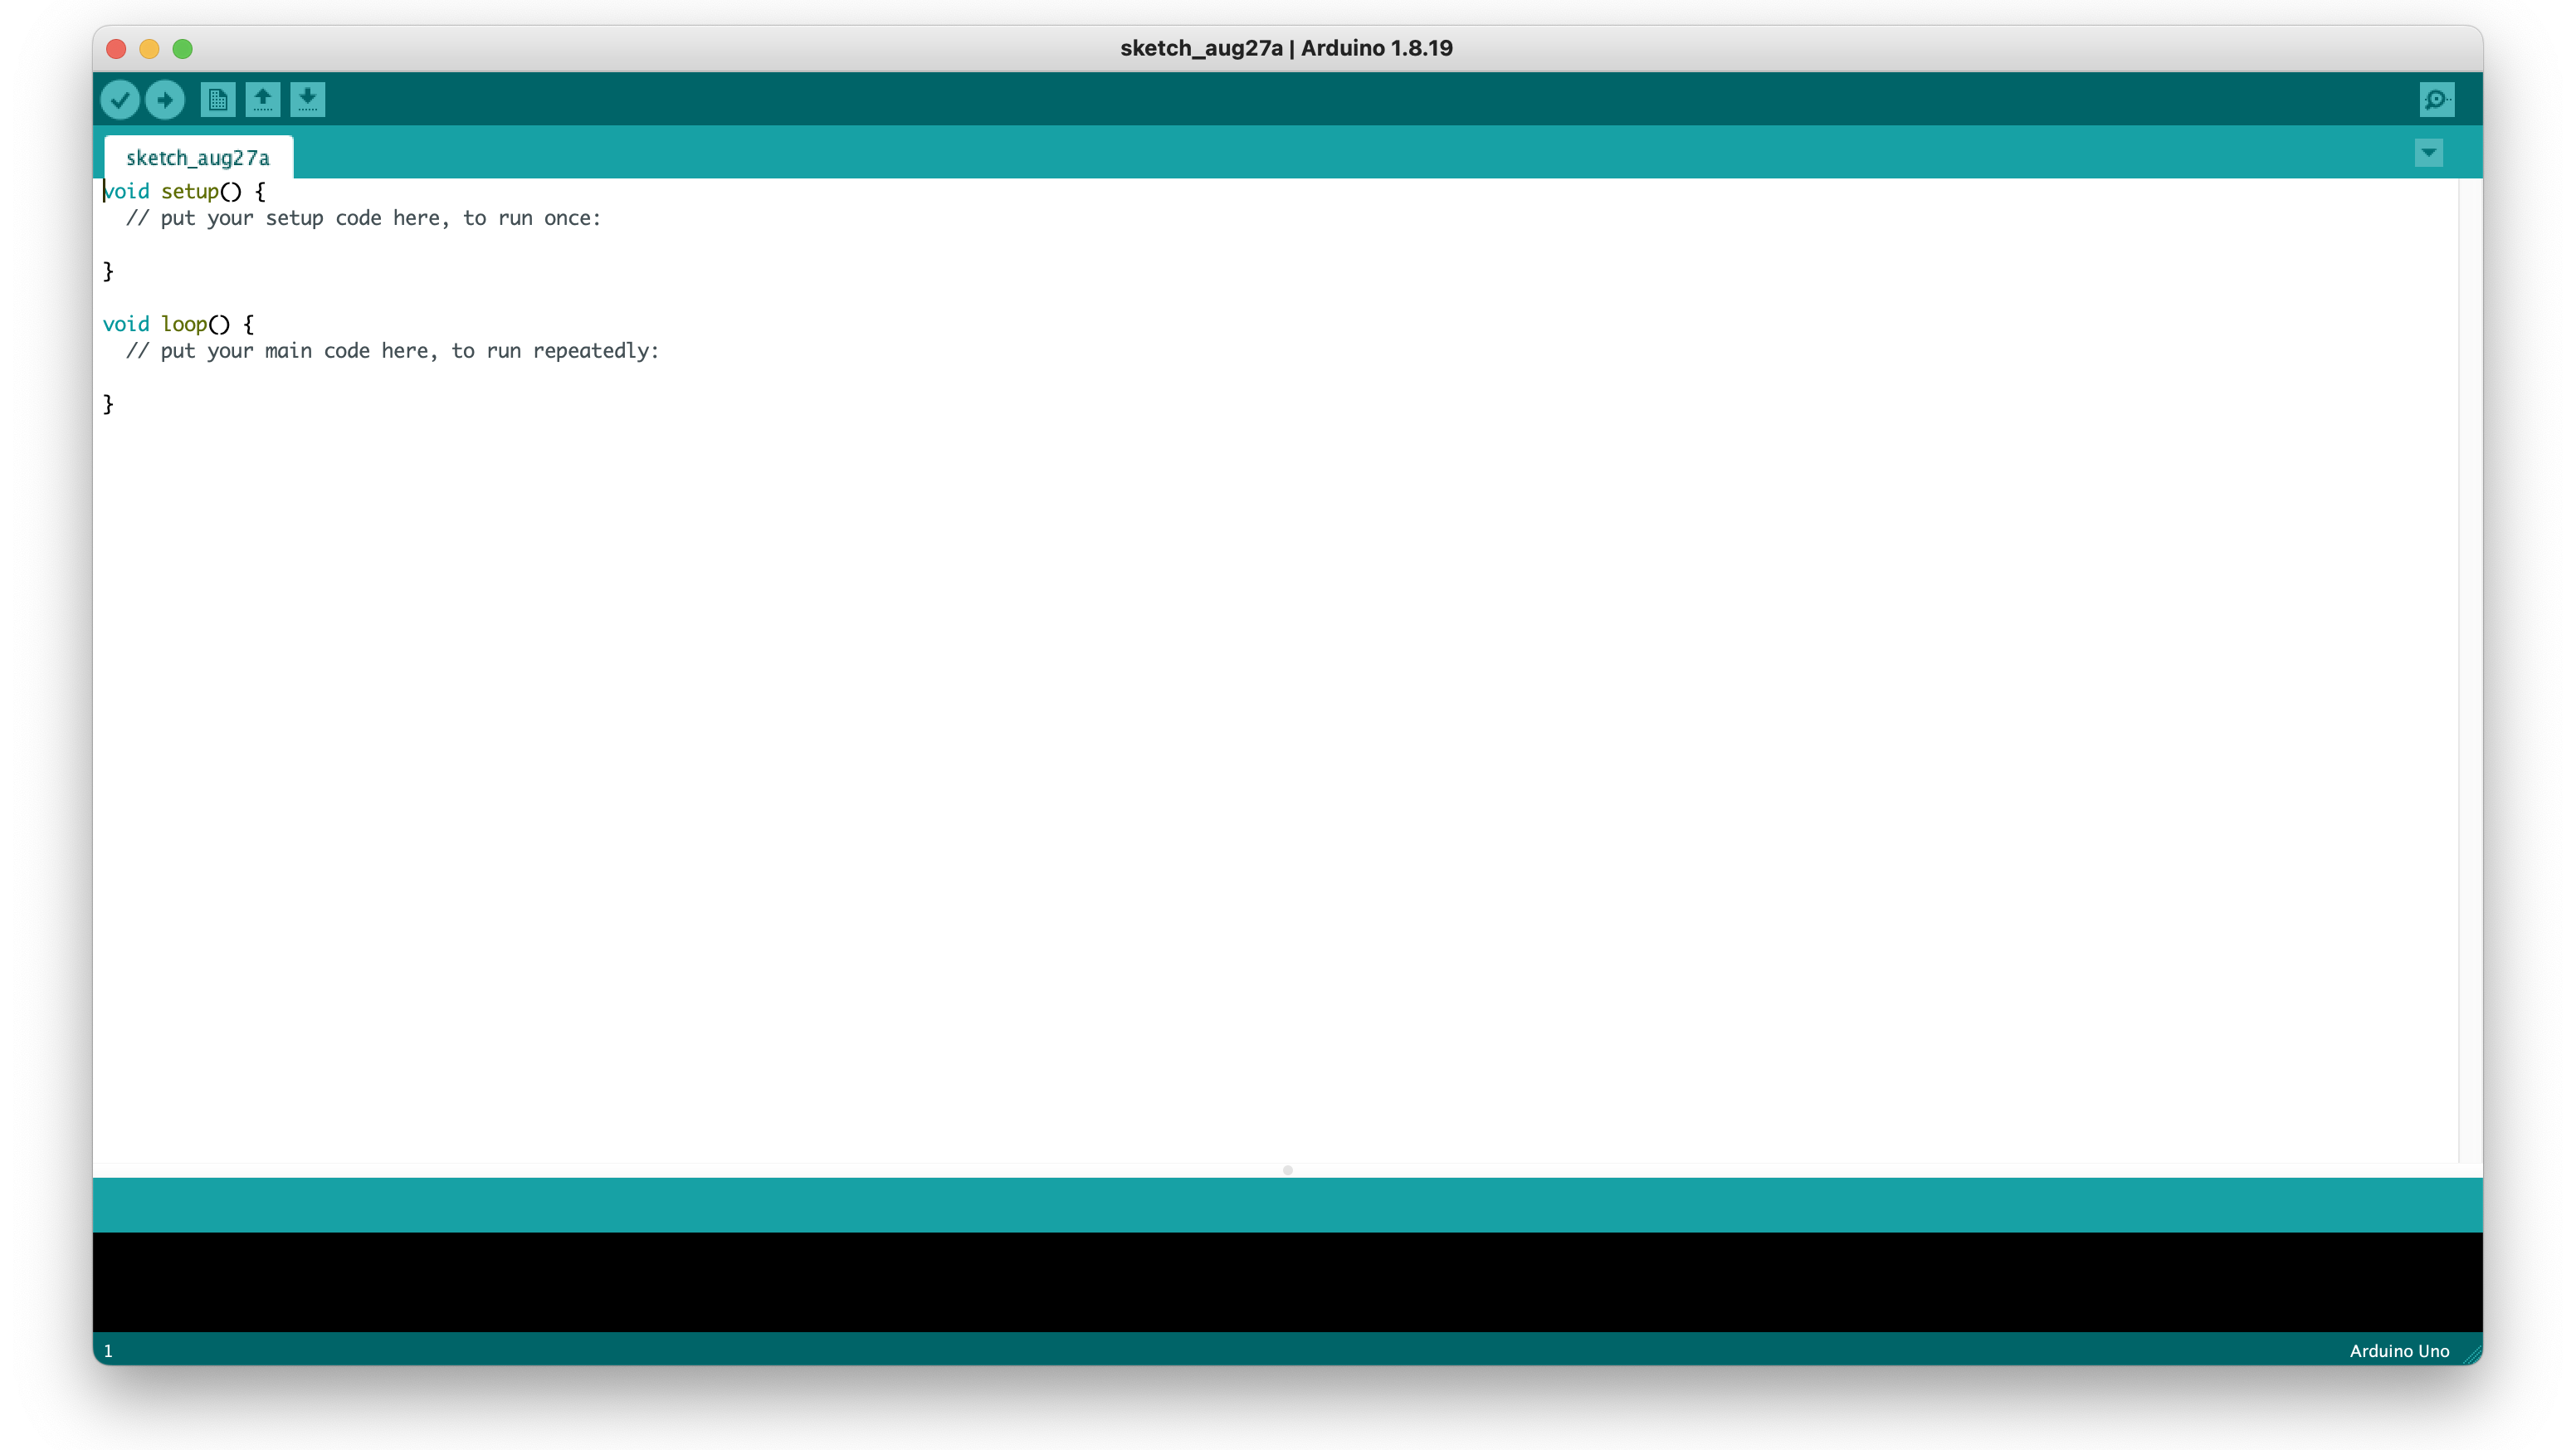
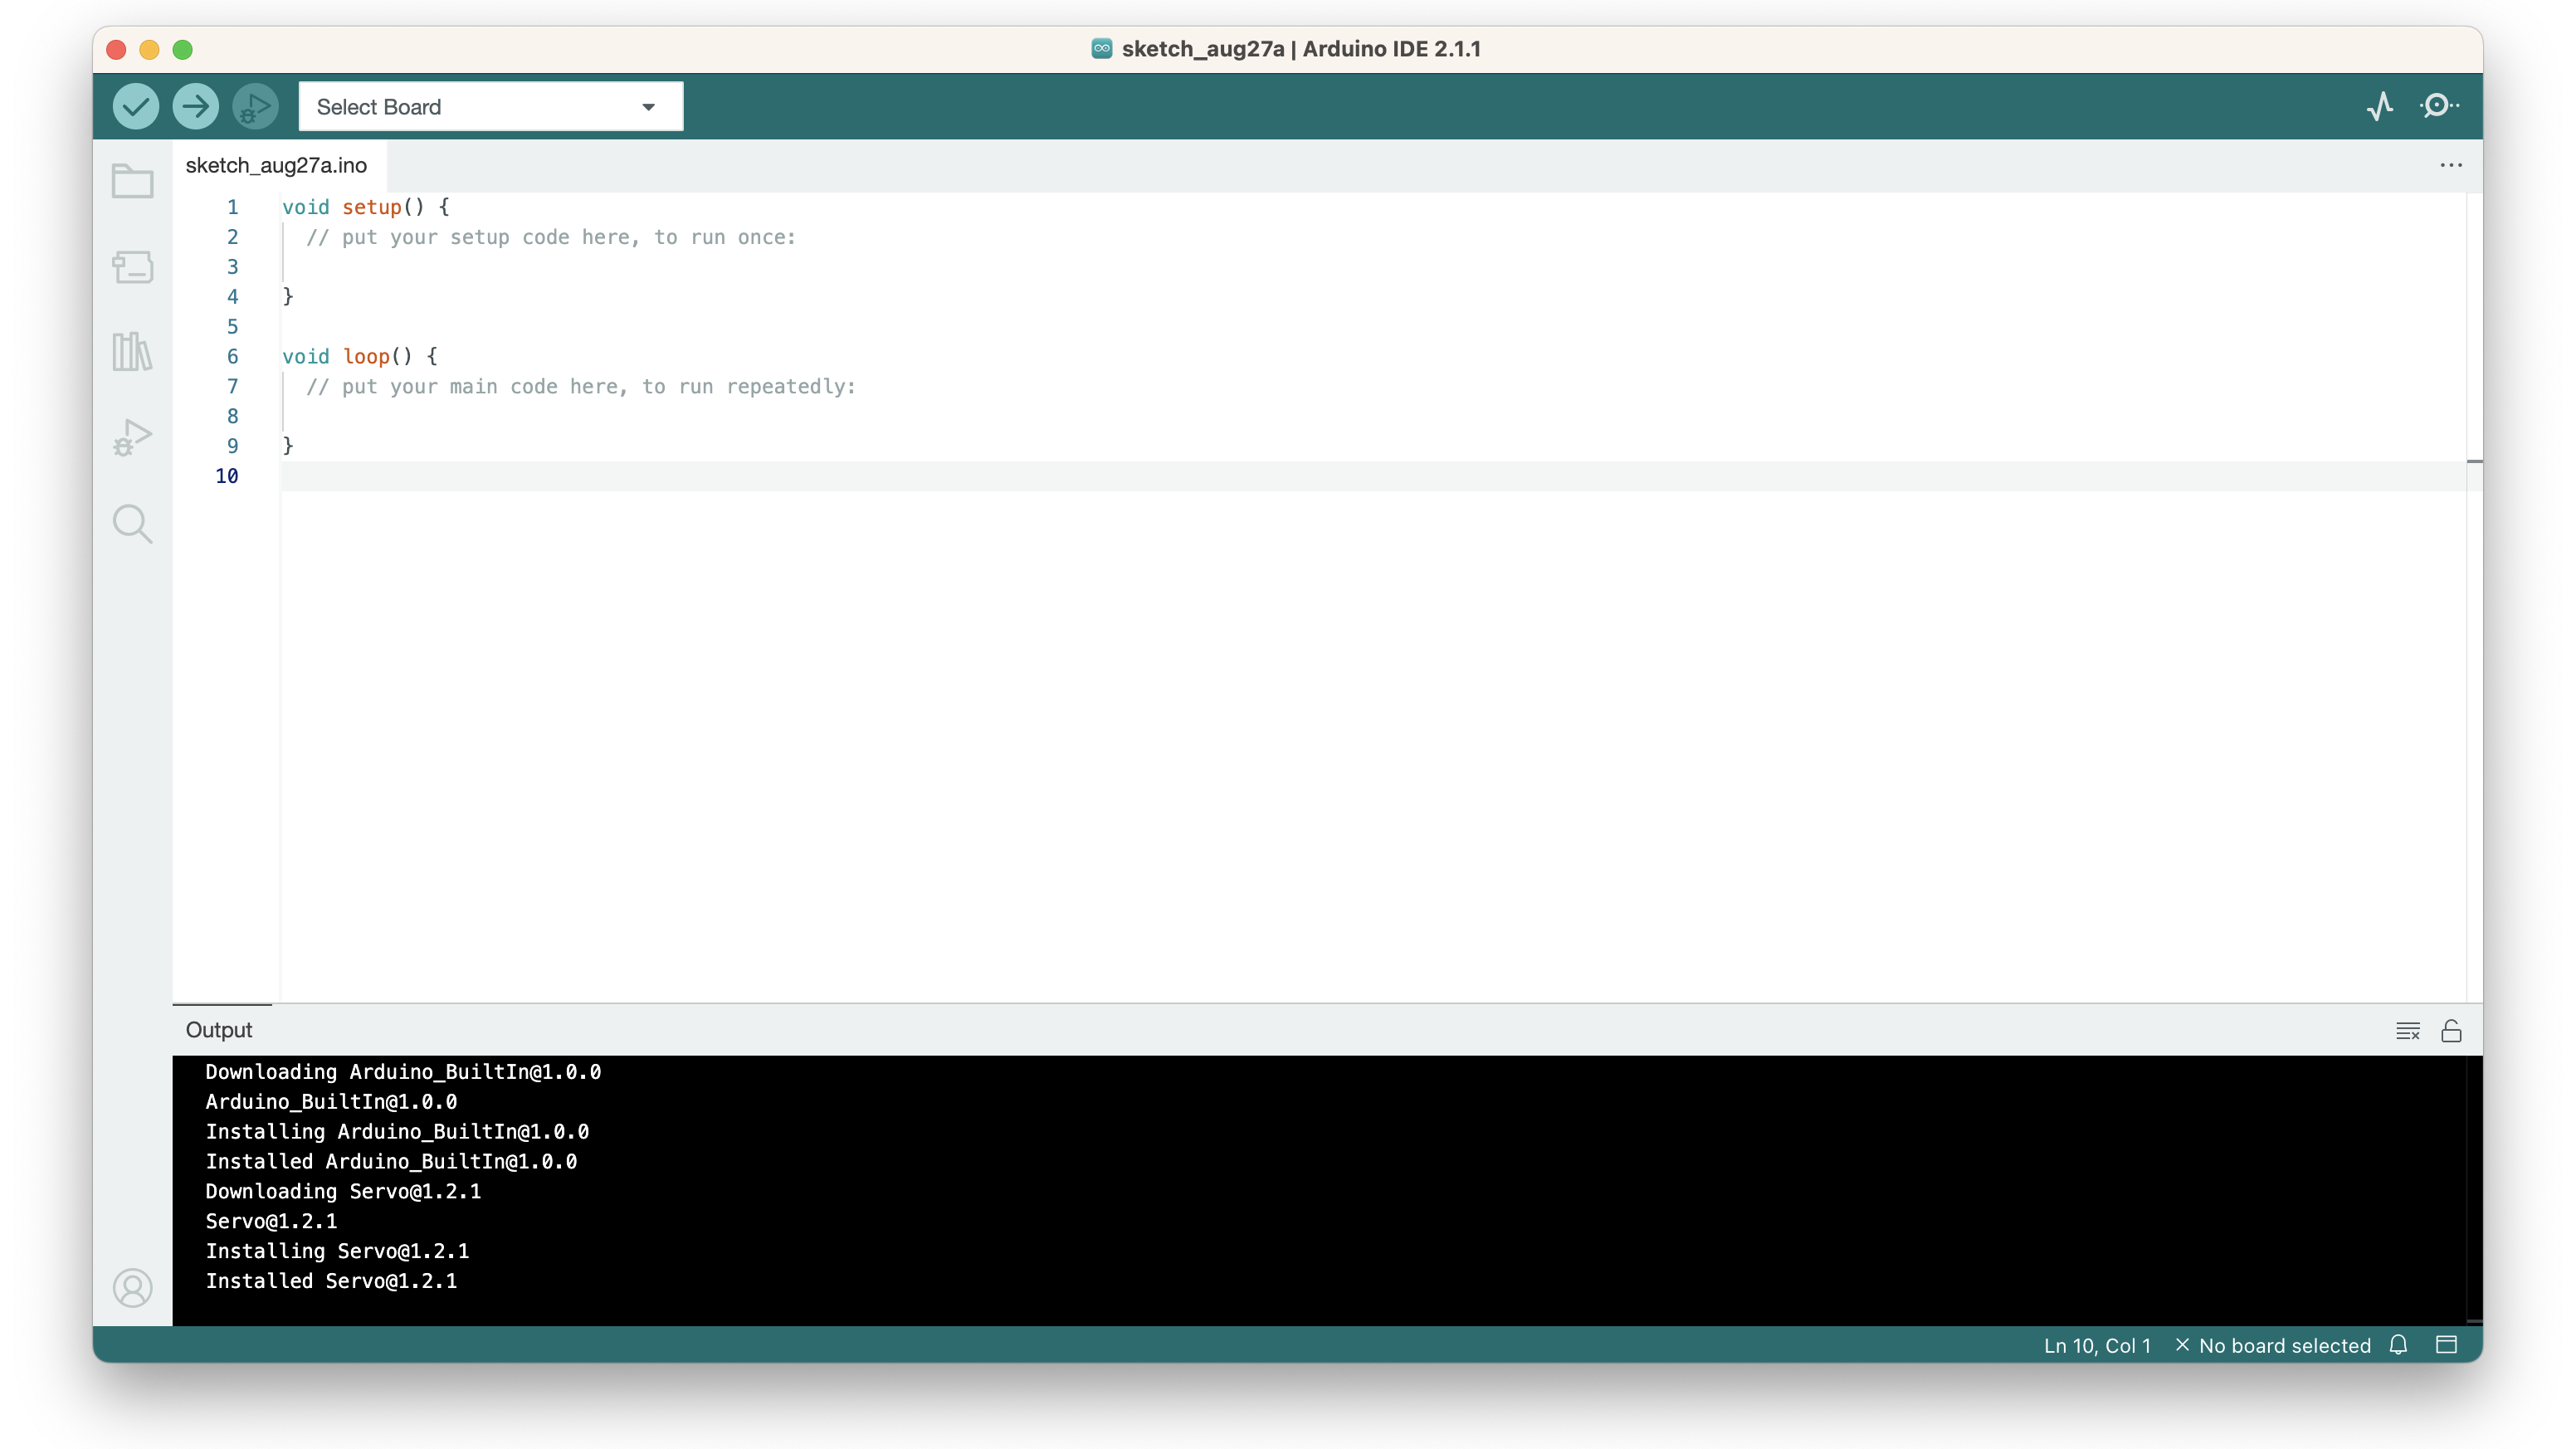
The Arduino IDE (Integrated Development Environment) is a user-friendly platform that simplifies microcontroller programming. Download and install the latest version from the official Arduino website.

2. Add ESP32 Board Support
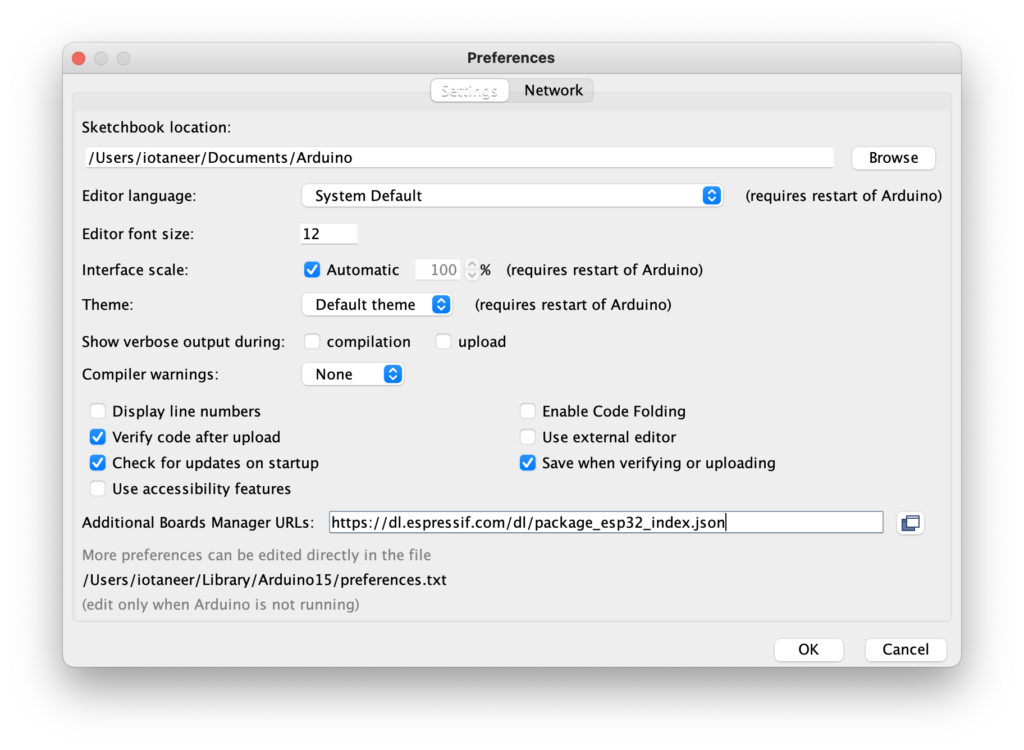
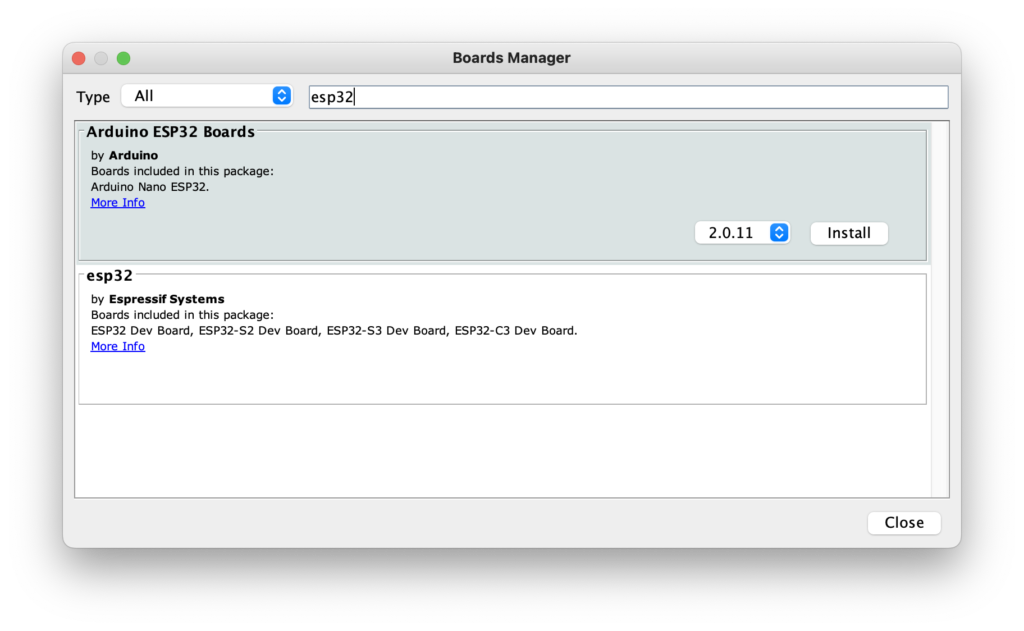
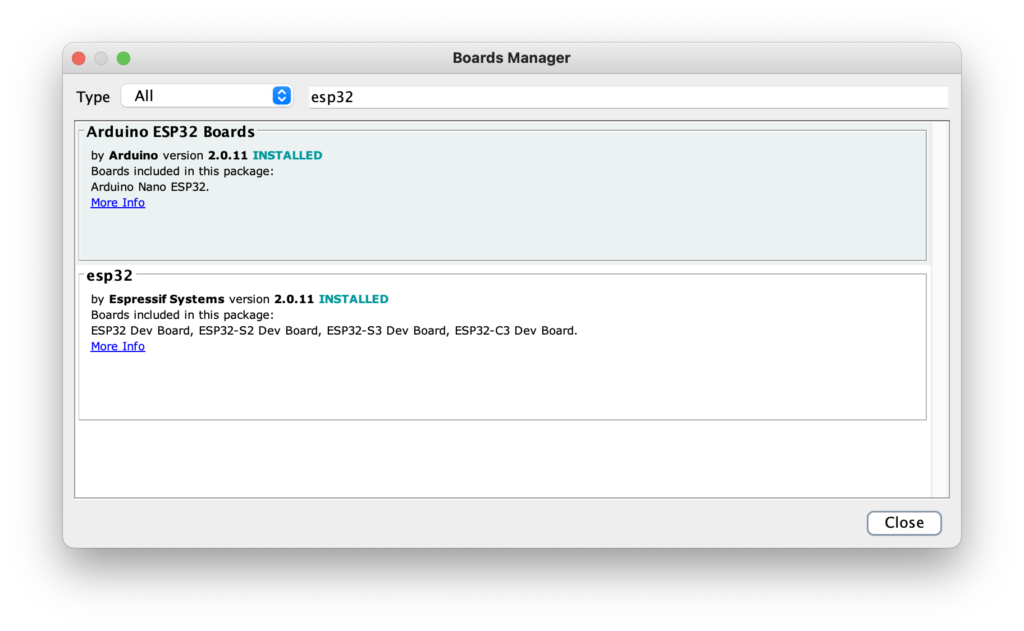
Launch the Arduino IDE and navigate to “File” > “Preferences.” In the “Additional Boards Manager URLs” field, paste this URL: https://dl.espressif.com/dl/package_esp32_index.json. Then, access “Tools” > “Board” > “Boards Manager,” search for “esp32,” and install the board package.
3. Select the ESP32 Board
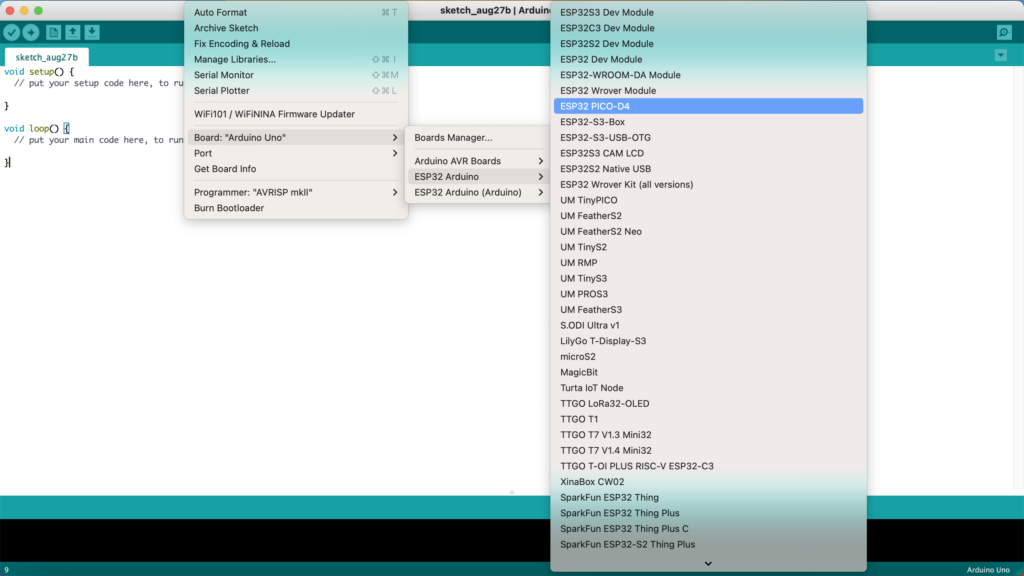
Once the installation is complete, choose the ESP32 board by going to “Tools” > “Board” and selecting “ESP32 Dev Module.” This step ensures that your code is compiled and uploaded for the ESP32 microcontroller.

4. Install the USB Drivers (If Required)
Depending on your operating system, you may need to install USB drivers to enable communication with the ESP32 board. Check the official documentation or the manufacturer’s website for specific driver installation instructions.
Your First ESP32 Project: Blinking LED
To embark on your ESP32 journey, let’s getting started with a classic “Hello, World!” project: blinking an LED. This project will not only help you become familiar with programming the ESP32 but also establish your confidence in working with its GPIO (General Purpose Input/Output) pins.
Wiring the Circuit
For this project, you’ll need an LED, a current-limiting resistor, and a breadboard. Connect the anode (longer lead) of the LED to a GPIO pin (e.g., pin 13) on the ESP32. The cathode (shorter lead) should connect to the resistor, and the other end of the resistor should be connected to the ground (GND) pin on the ESP32.
Writing the Code
void setup() {
  pinMode(13, OUTPUT); // Set pin 13 as an output
}

void loop() {
  digitalWrite(13, HIGH); // Turn the LED on
  delay(1000);            // Wait for 1 second
  digitalWrite(13, LOW);  // Turn the LED off
  delay(1000);            // Wait for 1 second
}
Uploading and Testing
Connect your ESP32 to your computer using a USB cable. In the Arduino IDE, click the “Upload” button to compile and upload the code to the ESP32. You should witness the LED blinking on and off in a rhythmic fashion.
Exploring GPIO Pins and I/O Options
The GPIO pins of the ESP32 are its digital playground, offering endless possibilities for interfacing with the physical world. Here are some key concepts to consider:
Digital Inputs and Outputs
Beyond blinking an LED, you can control various digital components using GPIO pins. Experiment with connecting a button and adjusting your code to respond to button presses. This lays the foundation for more interactive projects.
Analog Inputs
The ESP32’s analog-to-digital converters (ADCs) open doors to reading analog signals. Incorporate a potentiometer and use the analogRead() function to read its value. This ability is invaluable for tasks such as light intensity measurements.
PWM (Pulse Width Modulation)
PWM is a technique for controlling analog devices using digital signals. By varying the duty cycle of the signal, you can control components like LEDs and servos. Experiment with PWM to discover how it influences the intensity and motion of connected devices.
Communicating with Other Devices
While GPIO manipulation is exciting, the ESP32’s capabilities extend to communication with various devices. Let’s delve into two crucial communication protocols: I2C and SPI.
I2C Communication
The I2C (Inter-Integrated Circuit) protocol facilitates communication between multiple devices using just two wires: data (SDA) and clock (SCL). Many sensors and peripherals support I2C, making it a vital tool in your toolkit.
SPI Communication
SPI (Serial Peripheral Interface) is another protocol for exchanging data between devices. It’s particularly useful for high-speed communication with devices like displays and SD cards. Experiment with SPI by connecting an OLED display and displaying text and graphics.
Wi-Fi and IoT Applications
The ESP32’s built-in Wi-Fi capabilities are pivotal for IoT projects. Here’s how you can leverage Wi-Fi to create meaningful applications:
Connecting to Wi-Fi
Integrate Wi-Fi connectivity into your projects using the ESP32’s libraries. Begin by connecting to your local Wi-Fi network, allowing your ESP32 to access the internet and communicate with other devices.
IoT Temperature Monitoring
Combine your newfound skills to develop an IoT temperature monitoring system. Connect a temperature sensor to your ESP32, read temperature data, and transmit it to a cloud platform like ThingSpeak or Blynk. This setup enables remote temperature tracking through web or mobile apps.
Conclusion
As you journey through the ESP32 getting started development, remember that every LED blinked and every button pressed contributes to your growth as a proficient developer. By understanding the fundamentals, experimenting with GPIO pins, mastering communication protocols, and embracing Wi-Fi for IoT applications, you’re equipped to tackle a broad spectrum of projects.
The ESP32 offers a gateway to creativity, innovation, and the realization of your IoT dreams. With each line of code and each component connected, you’re forging a path into the exciting landscape of IoT development. So, gather your components, charge your creativity, and let the ESP32 be your guide to a world where the virtual and physical seamlessly intertwine.
On the next article, we will compare ESP32 vs ESP8266
Happy coding and exploring the vast possibilities of the ESP32!,and getting started